Emby is a media server software that allows users to organize and stream their multimedia content, such as movies, TV shows, music, and photos, across multiple devices.
Users can centralize their media collection in one place and access it from anywhere, whether it’s on their computer, mobile device, or smart TV. It supports a wide range of media formats, including high-quality video and audio, and provides features such as media transcoding, which automatically converts media into a compatible format for playback on different devices.
Emby also offers advanced features, such as parental controls, user profiles, and media sharing. Users can create individual accounts for family members or friends, set access restrictions for children, and share their media with other users.
Overall, Emby is a powerful and flexible media server solution that provides an easy way to manage and access multimedia content from different devices.
To install Emby on your seedbox, simply follow these steps:
1.Log in to your client area and navigate to “Services > My Services.”
2.Click on the green “Active” button next to your seedbox service.
3.From there, select “Applications” and find Emby in the list.
4.Click the “Install” button next to Emby to begin the installation process.
By following these straightforward steps, you can easily install Emby on your seedbox and start organizing and streaming your multimedia content.
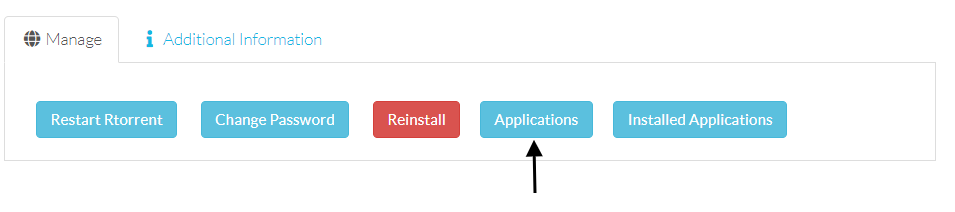
After clicking on the “Applications” button, you will be directed to a new screen where you should be able to easily locate the Emby install button.
It should be prominently displayed and easy to spot. Simply click on the “Install” button next to Emby to begin the installation process.

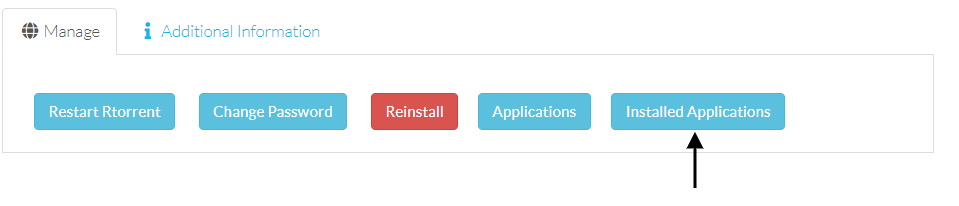
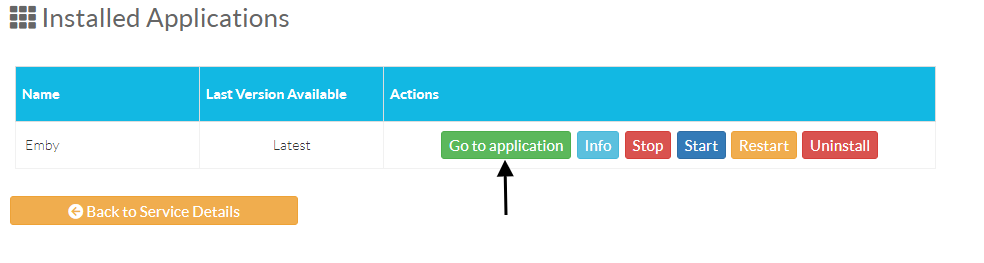
Congratulations, you have successfully installed Emby! To access, simply navigate to the “Installed Applications” page. From there, you can launch Emby and start enjoying all of its features and capabilities for organizing and streaming your multimedia content.
Then click the Go To Application button.
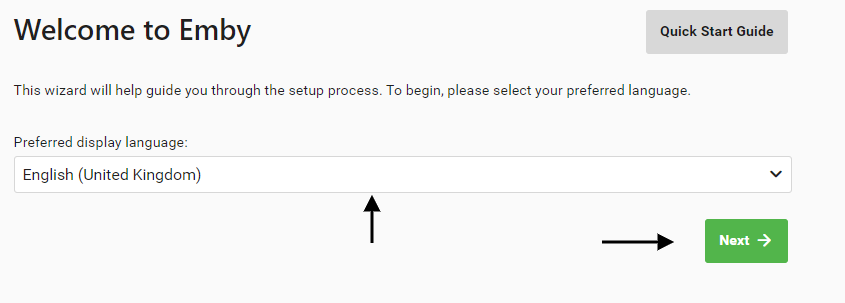
The first step is to select the language and click Next.
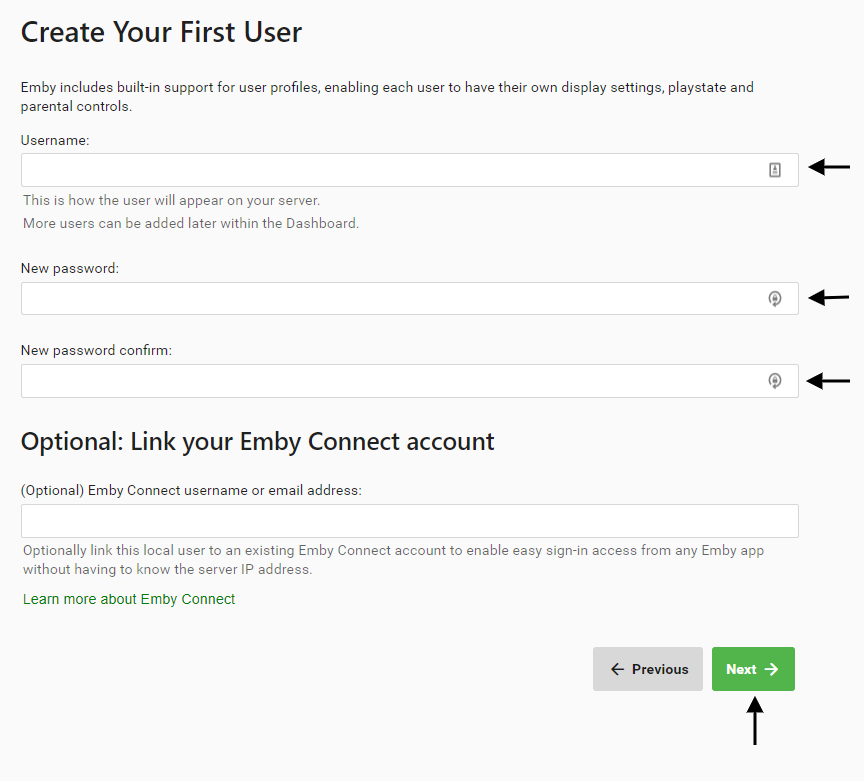
The next step is to enter a username and password for your Emby application and then click Next.
The next step is to add your media library’s
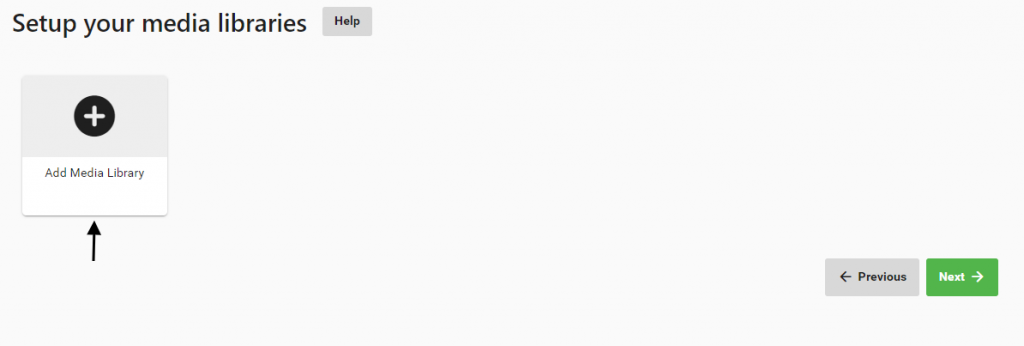
Click the add library button.
You would then need to select the content type and the name of the media folder.
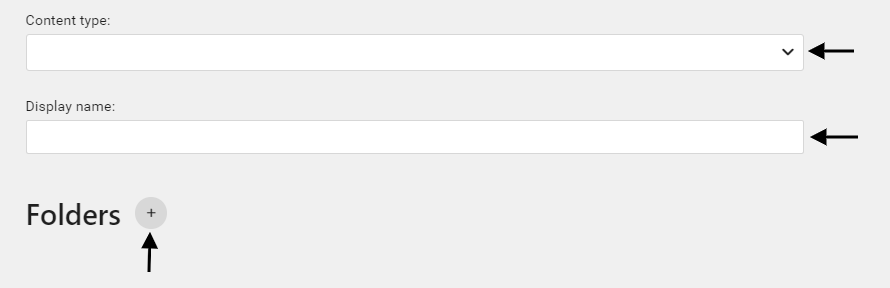
Click the + button.
On the next page you would need to add your folder path, your download folder inside this application is /data
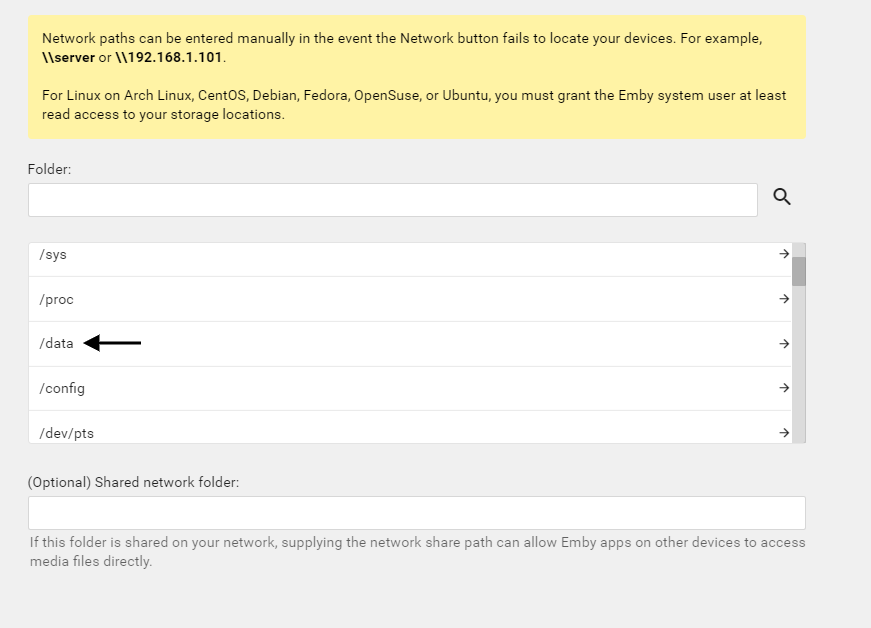
Before configuring, the media folder/folders would need to be created first either in the rutorrent Filemanger tab, FTP or SSH.
The folder you have created through one of these methods should be visible when you click the /data folder so for example your path would be /data/Movies if you created a Movies folder in your download folder.
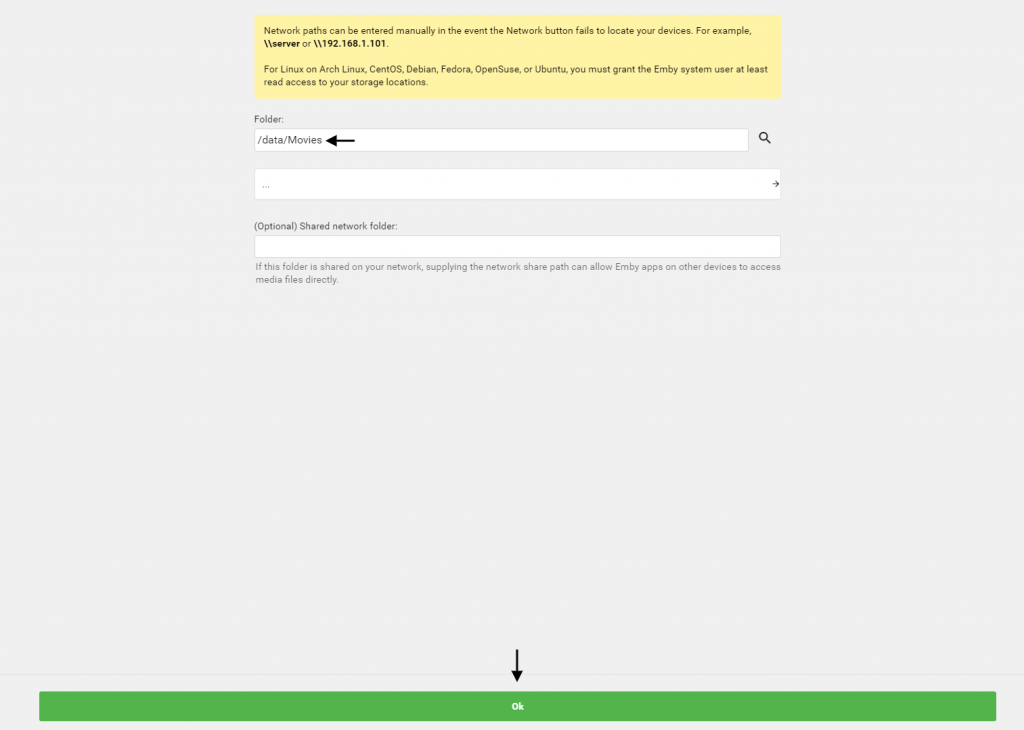
Continue to the next step by clicking OK
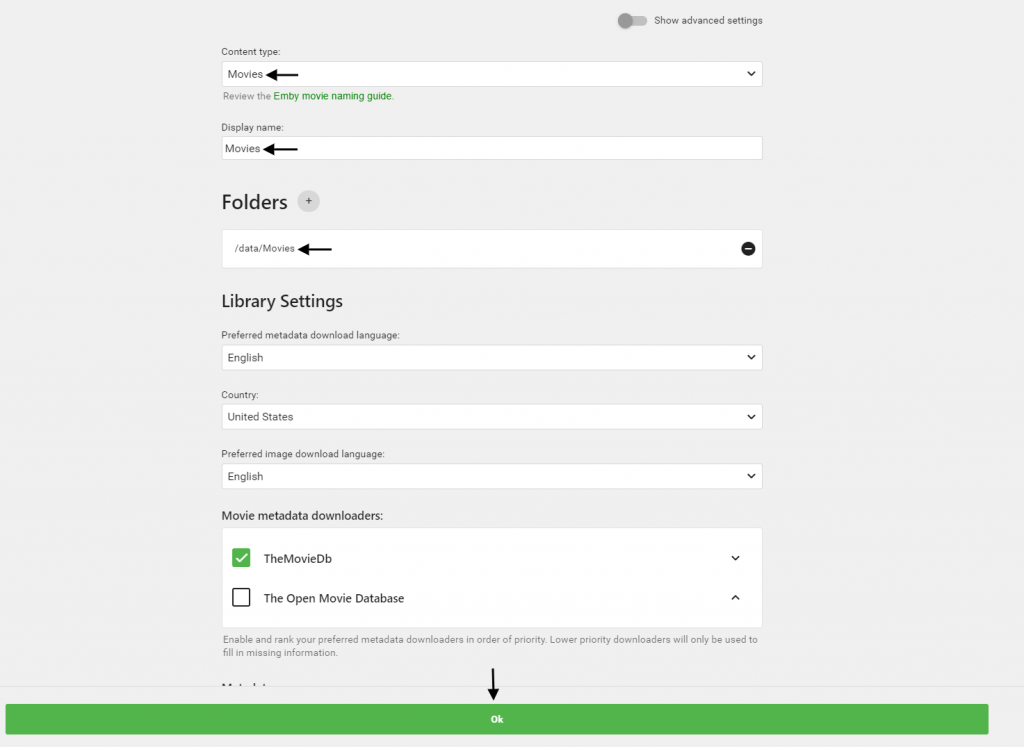
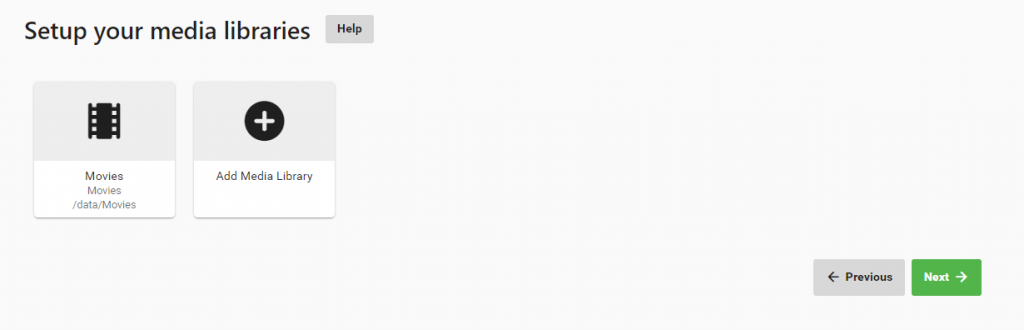
Now you can either add more folders or click Next to continue.
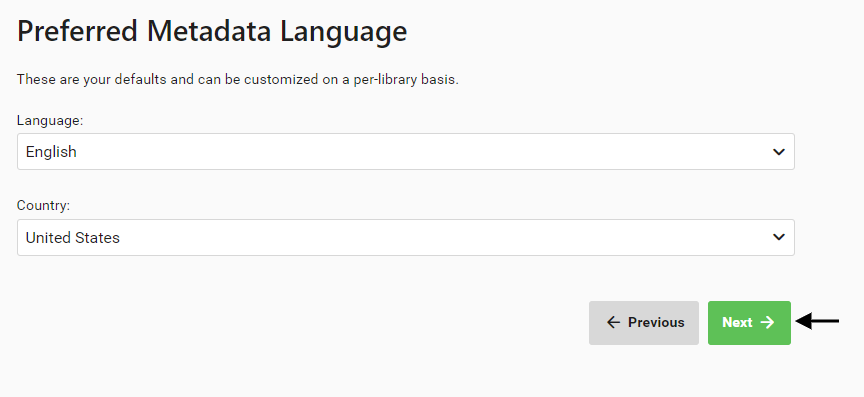
Click the Next button again after selecting the metadata language.
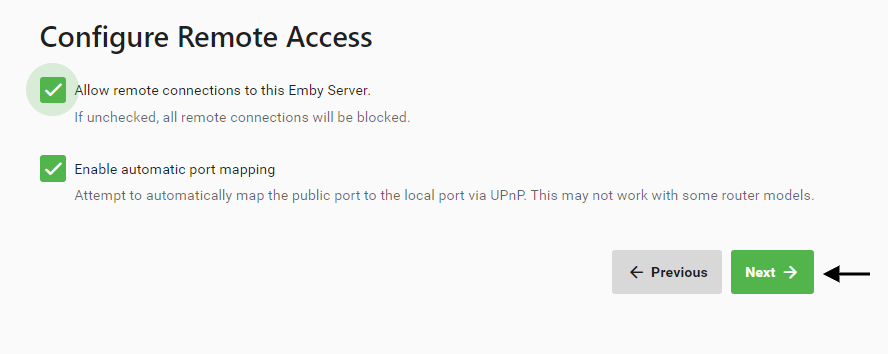
This step is for configuring remote access so both of the boxes need to be checked.
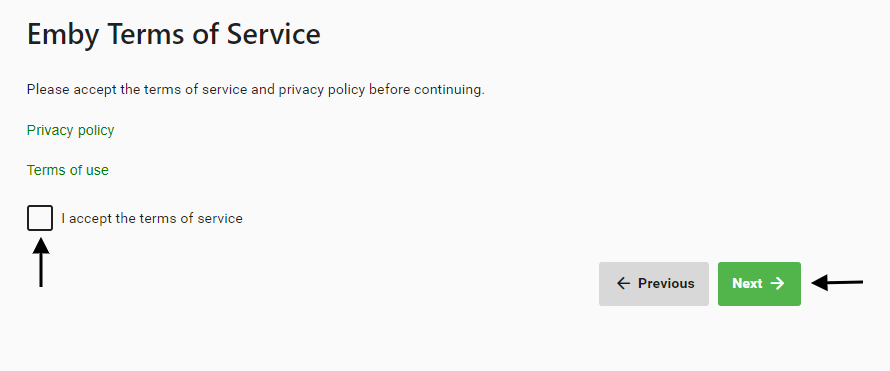
Check the box to accept terms of service and then click Next.
The install and configuration is now complete so you can click the Finish button.

SSL Certificates
In the application we use SSL the certificates are Lets Encrypt which expire after three months, the certificate can be renewed by clicking the restart button in the client area on the Installed Applications page.
Updating Emby
The application can be updated by clicking the restart button in the client area on the installed applications page.
Adding the Emby Server to your TV/Device
When adding the server to your TV/Device you use the URL:PORT you use to access the Emby server which can be found on the Installed Applications page for example.
https://nlxxxx.dediseedbox.com:xxxxx
The port used is not 8096 or 8920 these ports are only used internally.
Troubleshooting
Please note, some TVs like older LG models have issues connecting through HTTPS URLs in this case you would need to access Emby directly through the HTTP URL:PORT please contact support to find your Emby HTTP URL:PORT.
