What Is Plex Requests
Plex requests is a GUI accessed through the browser which gives your Plex users the ability to request Movies or TV Shows.
Create Plex Requests Admin Account
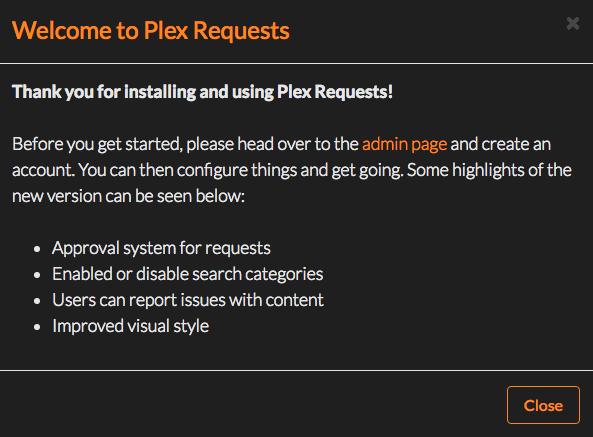
The first time you access Plex Requests, you will be presented with the “Welcome to Plex Requests” screen.
Click the orange admin page link to be taken to the “Admin” page, then click the Close button.
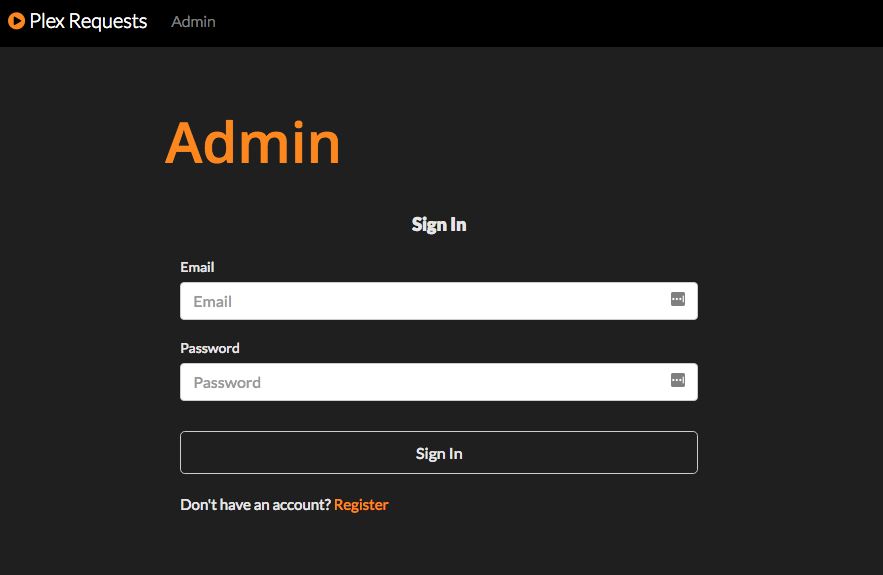
You will see the “Sign in” prompt. Click the Orange Register link at the bottom.
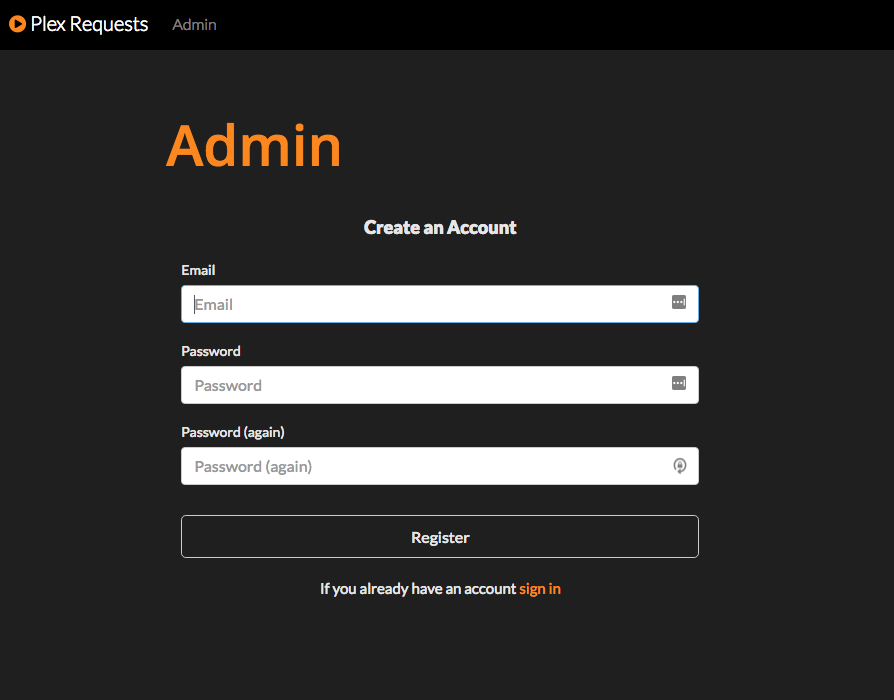
You will now see the “Create an Account” prompt. Fill in your Email address and Password and then click the Register button.
This will be your Admin account for Plex Requests.
Plex Requests Settings
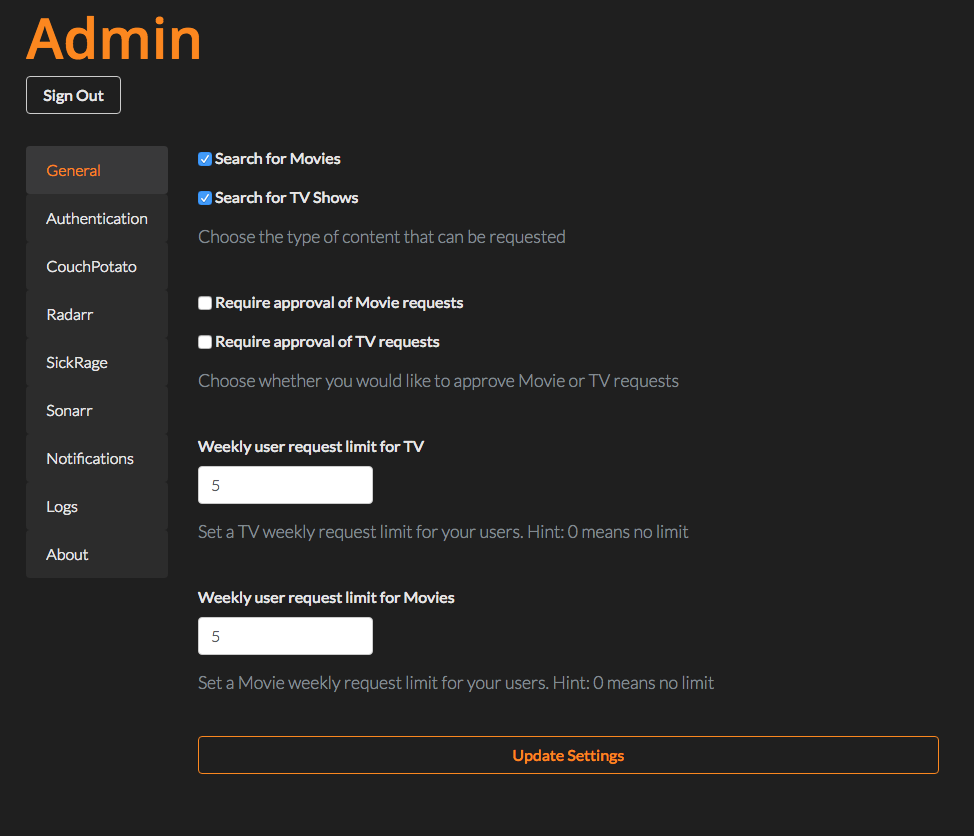
You will now be taken to the “General” settings page.
Choose whether you want to use Plex Requests for Movies, TV Shows or both.
Click the Update Settings to save changes.
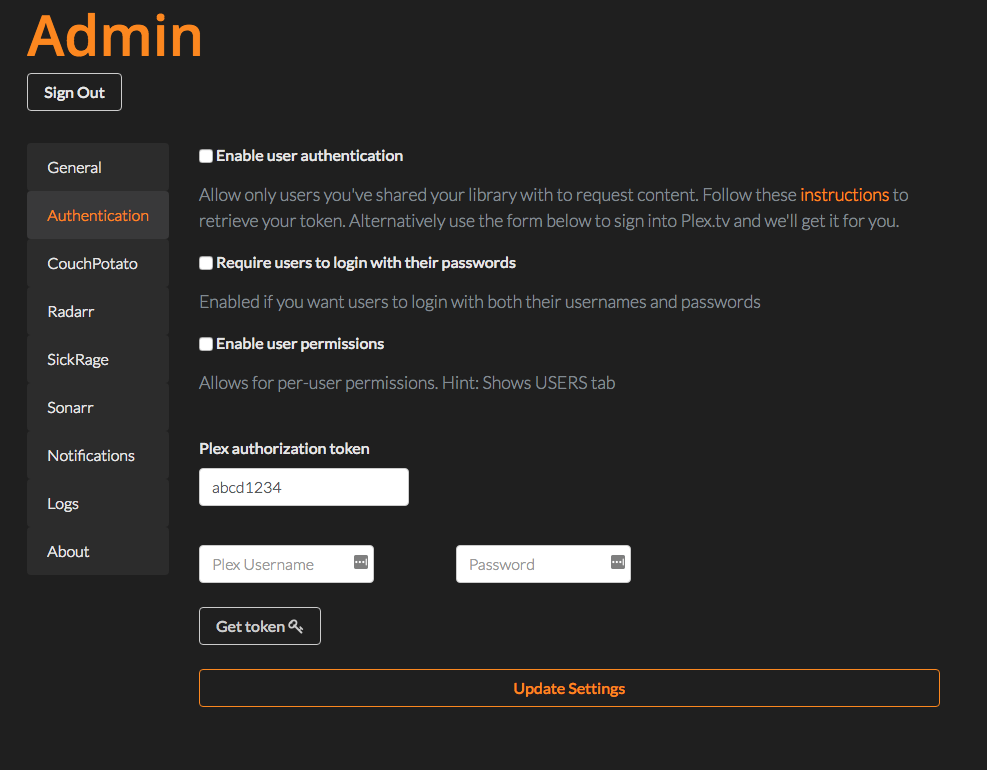
On the “Authentication” settings page
It is advised to have both Enable user authentication and Require users to login with their passwords enabled (at the very least Enable user authentication enabled).
Fill in your Plex Username and Plex Password then click the Get Token button this will automatically retrieve your token.
When this is successful, you will get the “Successfully got token!” message and the Plex authorization token textbox will be filled completed.

Click Update Settings to save changes.
Connecting Couchpotato to Plex Requests
Click the Couchpotato tab on the left hand column.
Enable Couchpotato:Check
Couch Potato server IP or Hostname: Enter the Seedbox IP address
Couch Potato server port:Enter the port you access your Couchpotato application on.
Couch Potato API key:Enter your Couchpotato API this can be found in Couchpotato at Settings -> General -> API Key
Couch Potato sub-directory:Leave Empty
Enable Couch Potato SSL:Leave Unchecked.
Click Update Settings.
Click Test Couchpotato server. The button will update to show “Success!”.
Connecting Radarr to Plex Requests
Click the Radarr tab on the left hand column.
Enable Radarr:Check
Radarr server IP or Hostname: Enter your seedbox IP address
Radarr server port:Enter the port you access your Radarr application on.
Radarr API key: Enter your Radarr API key this can be found in Radarr at Settings -> General.
Enable Radarr SSL: disabled.
Click Update Settings.
Click Test Radarr server. The button will update to show “Success!”.
Click Get Profiles and choose your preferred “Download quality profile for Radarr”.
“Root save directory for movies”: /downloads
Click Update Settings.
Connecting Sickrage to Plex Requests
Click the Sickrage tab on the left hand column.
Enable Sickrage:Check
SickRage server IP or Hostname”: Enter the Seedbox IP address
SickRage server port:Enter the port you access your Sickrage application on.
SickRage API keyEnter your API from SickRage. It can be found in SickRage Settings -> Interface -> API Key
SickRage sub-directory:Leave Empty
Enable Sickrage SSL:Leave Unchecked.
Click Update Settings.
Click Test Sickrage server. The button will update to show “Success!”.
Connecting Sonarr to Plex Requests
Click the Sonarr tab on the left hand column.
Enable Sonarr”:Check
Sonarr server IP or Hostname: Enter your seedbox IP address
Sonarr server port:Enter the port you access your Sonarr application on.
Sonarr API key: Enter your Sonarr API key this can be found in Sonarr at Settings -> General.
Enable Sonarr SSL: disabled.
Click Update Settings.
Click Test Sonarr server. The button will update to show “Success!”.
Click Get Profiles and choose your preferred “Download quality profile”.
“Root save directory for TV shows”: /downloads
Click Update Settings.
