- /
- /
- /
Jellyfin
Jellyfin is a free media player which can store and stream your media, Movies, TV Shows, Music etc and displays them in a nice looking GUI.
Jellyfin can also stream ISO files which other media players for example Emby and Plex are unable to do.
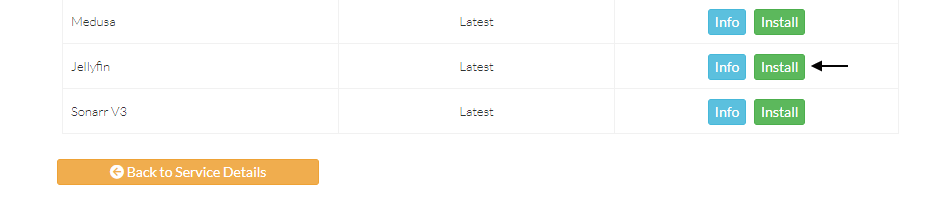
Jellyfin can be installed on your seedbox through the client area at Services > Click the green Active Button > Applications.
The click the green Install button on the right hand side.
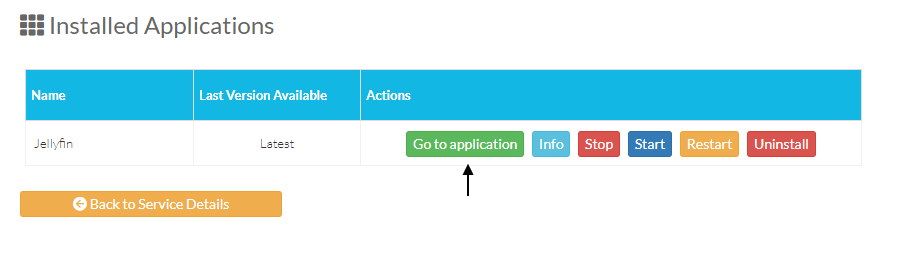
Once Jellyfin is installed it can be accessed through the Installed Applications page at Services > Click the green Active Button > Installed Applications then click Go to application.
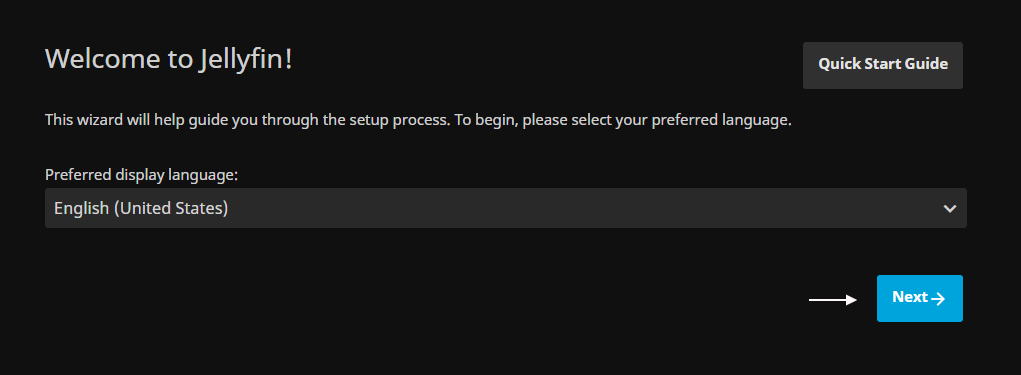
The first page to load on Jellyfin is where you set the language you want to use in Jellyfin so select your language and click the Next button.
The next page will load where you need to set the username and password to access Jellyfin so add your username and password into the fields and click the Next button.
Please note this login can be anything it doesn’t need to match your seedbox login.

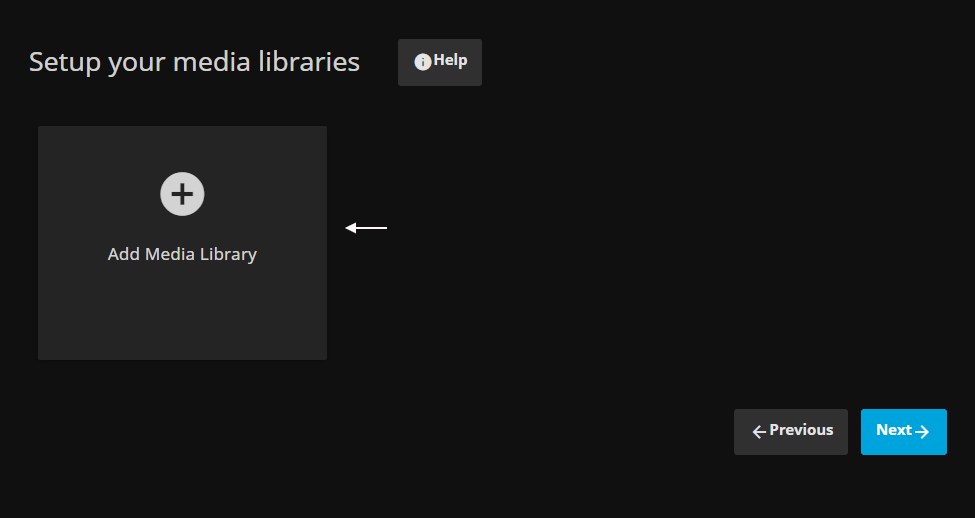
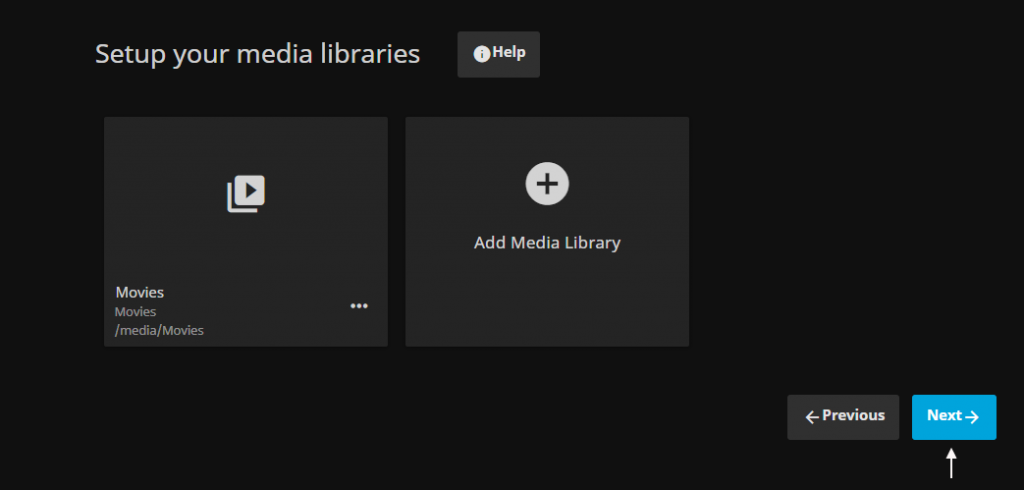
The next step is where you add your library to Jellyfin so click the large box where is reads “Add Media Library” as shown in the image below.
The next page will load where you need to select the content type and the name of the folder.
Make sure you use a dedicated folder for each media category don’t add your whole download folder as this will cause issues with Jellyfin.
Your download folder is mounted as /media in the application so if you have created and intend to use a folder in your download folder named Movies the path would be /media/Movies
Creating the folder would need to be done in FTP,SSH or through the Filemanager tab inside rutorrent.
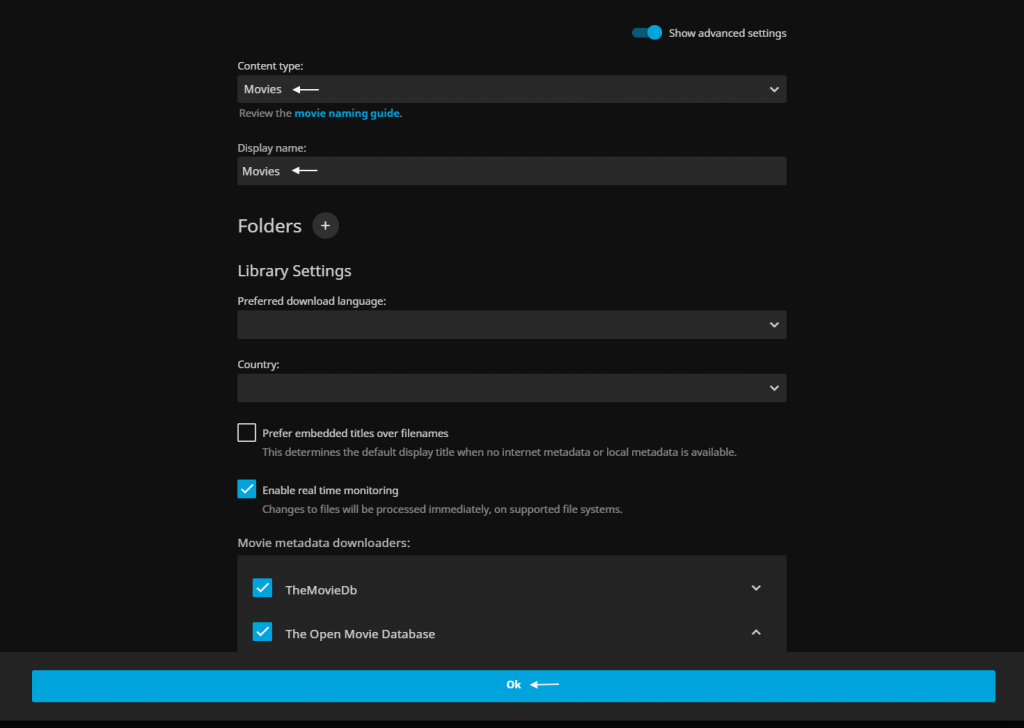
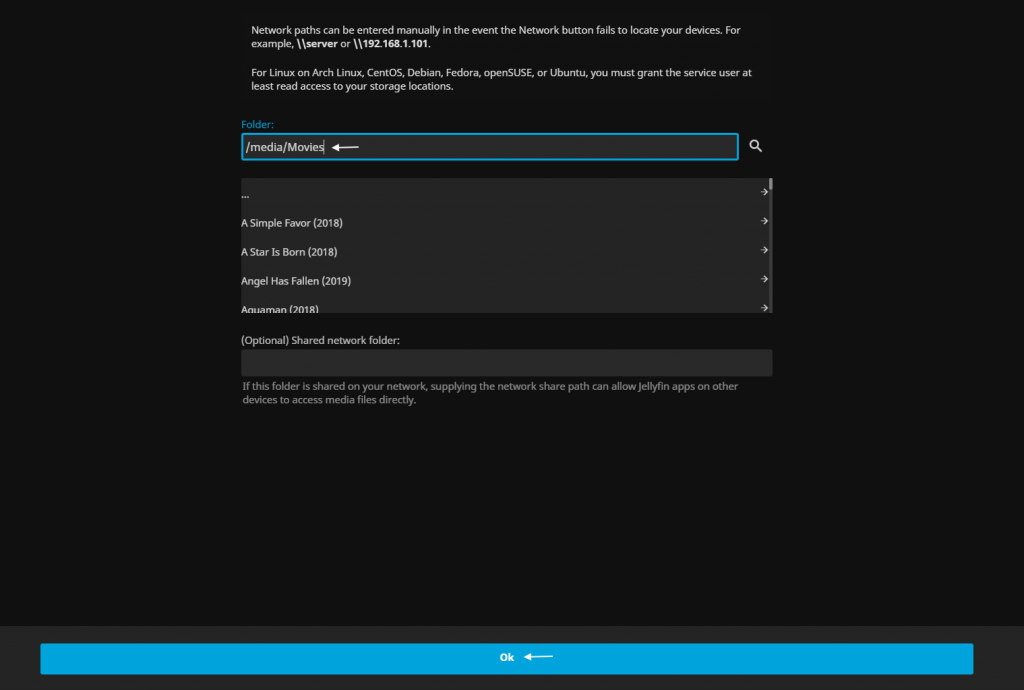
Once the category, name of the folder and the folder path has been entered you can click the OK button.
Add this stage you can either add more folders for example TV Shows or continue onto the next step by clicking the Next button.
The next page is where you select the language of the media your most likely to be streaming.

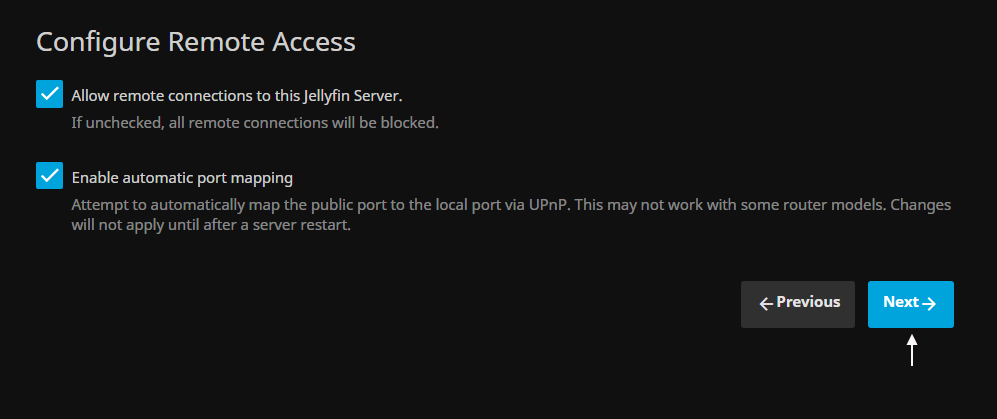
The next page to load is the settings for remote access its very important both of these boxes are checked once they are you can click the Next button to continue.
The final step you can click the finish button to complete the configuration.

Now the install and configuration is complete you can login to your Jellyfin install with the login details created in the initial steps.

Jellyfin is running on an SSL https:// encypted page so at some point these certificates will expire when they do all you need to do is restart Jellyfin in the client area which will generate new certificates and automatically add them to Jellyfin.
The restart button also upgrades Jellyfin to the latest version.
Its very important that the ports are not changed in the settings doing so will cause your Jellyfin application to go offline once its restarted.